Learn How to Make a Bracelet with Thread at Home!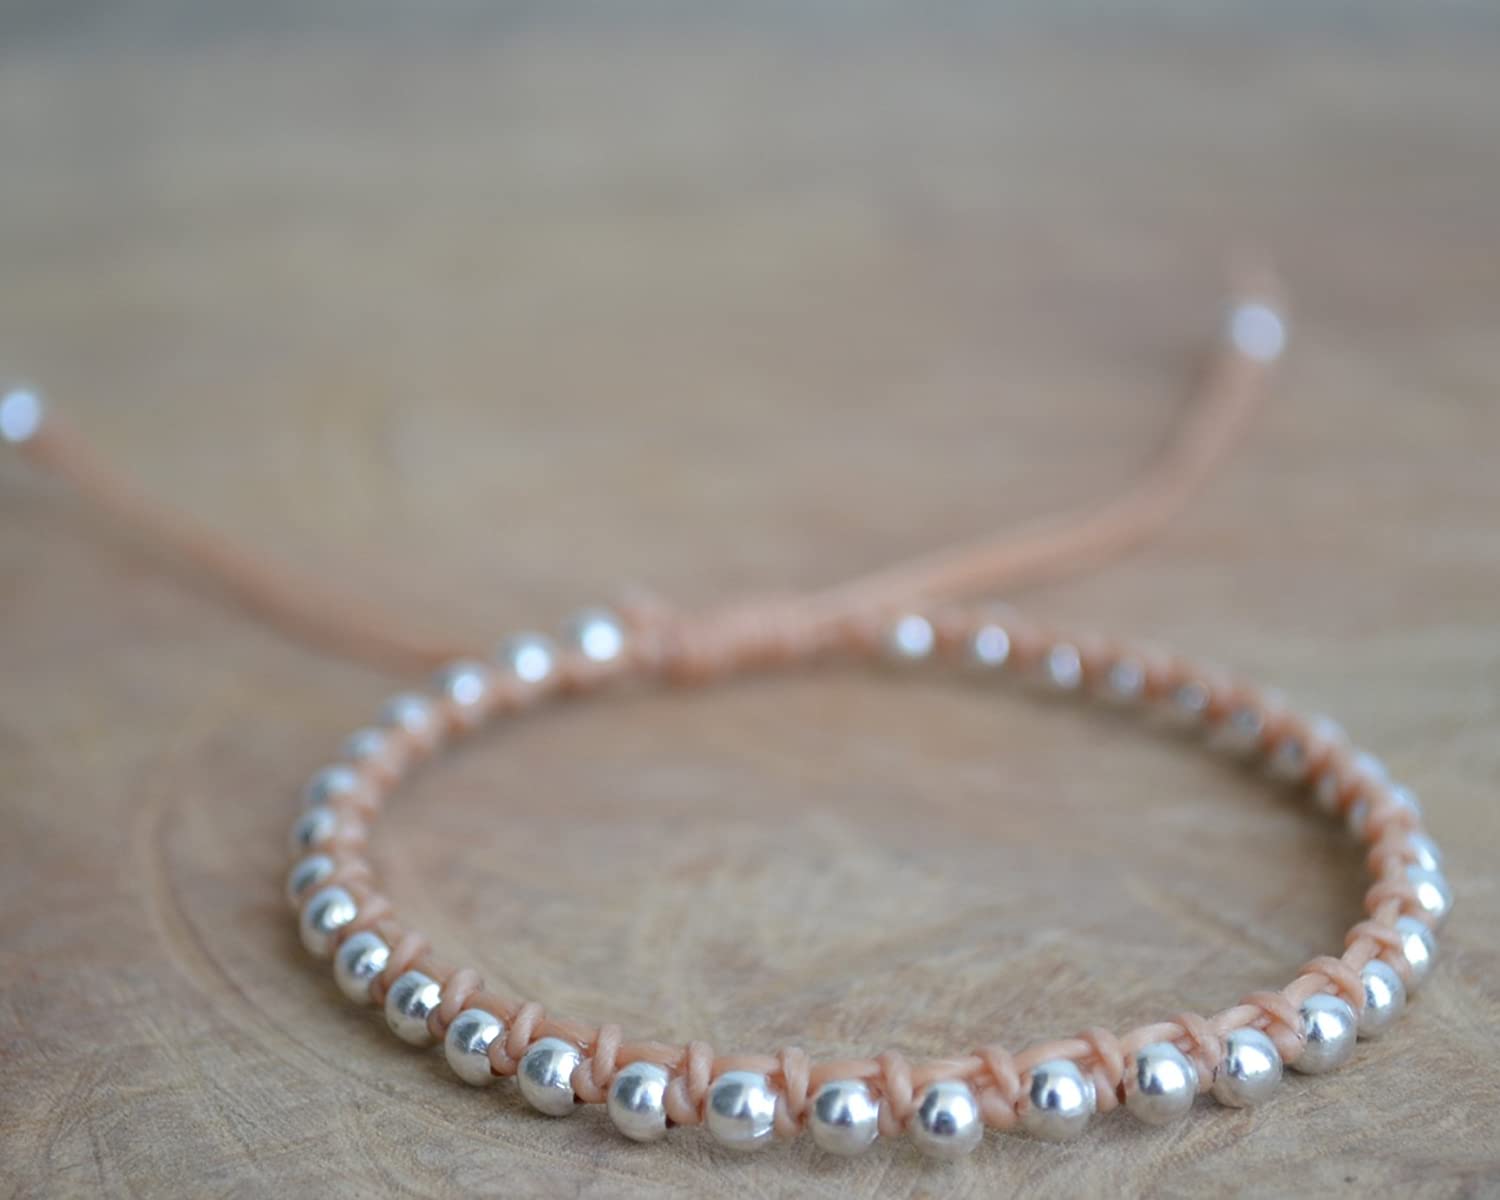
 Creating is a healthy and fun hobby that everyone must adapt to. Not only it is a fun activity to pass your time but is also a good mental exercise – How to Make Bracelet at Home with Thread
Making bracelets with threads may sound an easy task but it is not as easy as it may seem. A lot of times it requires tricks and tactics which you have to learn prior to making a bracelet. These bracelets can be made with threads of various colors. If you follow through the bracelet making process slowly and carefully you will be able to make a very nice bracelet.
You can gift this to your best friend on her birthday or to all your friends on friendship day.
You can follow different patterns to make several varieties of bracelets. Following the step to step process will make it easy for you if you are new to this activity.
Here is a step to step guide teaching you how to make a perfect bracelet. You can gift this to your loved ones or keep it for yourself.
How to Make a Basic Pattern Bracelet – A Guide
 We will be teaching you a very basic design for a bracelet. It is a simple pattern but a beautiful homemade bracelet can be made – How to Make Bracelet at Home with Thread
Step 1 – The First step is to pick out three threads of different or same colors, your choice. Cut these threads of any size. It is important to note here that the size of the final product will be smaller than the size of the original pieces. Therefore, cut your threads accordingly, depending on how long you want your bracelet to be. The size of all the three pieces of the thread must be equal.
- Cut three equal pieces of threads of the different or same color.
- Lie them next to each other and measure the size
 Step 2 – The Second step is to tie a knot. What is important here to note is where to tie the knot and how to tie. You have to tie your knowledge towards the terminating part of the threads on both sides. The knot should be around 2 centimeters away from the ends of the threads – How to Make Bracelet at Home with Thread
- Tie your knots at the terminating ends on both sides of the threads.
- A basic knot that is tight enough not to open will be fine.
- Knots should be 2 centimeters away from the ends.
Step 3 –The Third step is making a forward knot. Take the thread on either side and make the forward knot with it.
- Take the left/right thread and loop it over the middle thread. Now, suppose we take the left thread and loop it over the middle thread at around 90 degrees.
- Now loop the same left thread under the middle thread and move upwards to the knots. Pull the knot upwards. It is important to make knot it twice.
 Step 3 –The Fourth step in bracelet making is to make a forward knot around the far-right thread. To make the knot just follow the above step of knot making. Remember, there has to be a double knot and upwards pulling after each double knot.
- Making a forward knot around the far-right thread – How to Make Bracelet at Home with Thread
Step 4 –The Fifth step here is to follow the same forward knot making process we did with the thread that was on the left side. Except, this time we will be making knots with the middle thread which at this point, will be one of the side threads.
- Forward double knotting process with the middle thread.
 Step 6 –The Sixth step is to do the same forward double knotting process with the right thread which now, will be at the outermost left side. Loop it over the middle thread at around 90 degrees. Make a forward knot with this outermost thread around the thread that is now at the right side.
- Forward double knotting with the third thread – How to Make Bracelet at Home with Thread
Step 7 –The Seventh step is all about repeating all the above steps. By the end of the sixth step, you’ll be back from where you started regarding the position of the threads. The thread which was originally at the left side will now be back at left and the one that was in the middle will be in its original middle position. Now start making the forward double knots you made in the above steps. Repeat the knotting process for as long till you meet your desired bracelet size.
- Repeating the above knotting process.
- Repeat till your bracelet attains the desired length.
 Step 8 –The Last step of making a simple design bracelet, after reaching the desired length in the knotting process is tying the ends. When you think it is time to stop the knotting because you have reached the desired length, tie the ends of the bracelet with a nice tight knot that would not open. Make the circular shape of the bracelet by pulling the strings through the loop on the other terminating end of the bracelet and tie it – How to Make Bracelet at Home with Thread
- Tying then end knot
- Making a circular bracelet by pulling the remaining strings through the loop.
With this final step, your homemade thread bracelet is ready. Following these easy steps, you will be able to make a nice little bracelet.
It is important to follow the steps in the said order. If you mess up you can restart with news threads or just untie the old ones.
Gift this bracelet to your friends or family on their special day or just any random day to remind them that you care about them. Everyone loves some gift, but what matters most is the effort that you put in your gifts. These pretty little bracelets are a perfect way to show someone that you care about them and love them. With this tiny little gift, you are sure to make someone’s day a whole lot better – How to Make Bracelet at Home with Thread
How to Make a Bracelet with String – A Guide
 This is an easier method of making a bracelet with strings and beads. You can start this activity with your kids as a way of spending quality time with them and teaching them a fun and educating activity that will help them in the future – How to Make Bracelet at Home with Thread
For this step, you will be need strings of different colors. You can choose any colors that you want. This bracelet can be made with or without beads. If you prefer beads, then choose beads of the shape and colors that you desire. A hard surface or clipboard, tape and a pair of scissors are some other equipment needed for this.
You can make this bracelet as a homemade gift to your little one and teach her the value of efforts
- Get a clipboard or some other hard surface, tape and some thin string in different colors.
- Gather a bunch of string and secure the pieces together at one end with a small piece of tape.
 Place the taped end underneath the clip of the clipboard. If you do not have a clipboard, tape the end to a hard surface.
- Divide the string into three sections and begin to braid.
- If you want to add beads, stop braiding right before you have reached the center of the string.
- Knot the string securely after the braided section.
- Pull the upbraided string through the hole of the bead.
- Move the bead up to the knot and knot the string on the other side of the bead.
- Repeat the above step for as many beads as you want to add – How to Make Bracelet at Home with Thread
- When you have added your last bead and knotted the string, divide the bunch of string into three sections again and continue braiding.
- When you are done braiding, secure the ends together with a small piece of tape.
- Tie the bracelet securely around your or someone else’s wrist and remove the tape. Cut the extra strings.
 You can also make necklaces by this method. Either, choose a longer string and the necklaces the same way you make bracelets or, pick one piece of heavier string or cord and add beads of your choice.
This is one of the easiest ways to make a bracelet. You can try this activity with little kids during their vacations or holidays. It is a perfect activity to do with your kids and spend quality time with them. It will not only prove to be a fun time for them but will also teach them lessons about following the guide and sticking to the rules.
You can try various other bracelet making techniques. There are several jewelry kits available at art stores. These kits have all the essential tools that you may need while making a bracelet. You can practice with different designs and patterns. Practicing makes one perfect and we are sure, if you do this diligently and with focus, then you will be able to make amazing bracelets at home – How to Make Bracelet at Home with Thread


No comments:
Post a Comment